
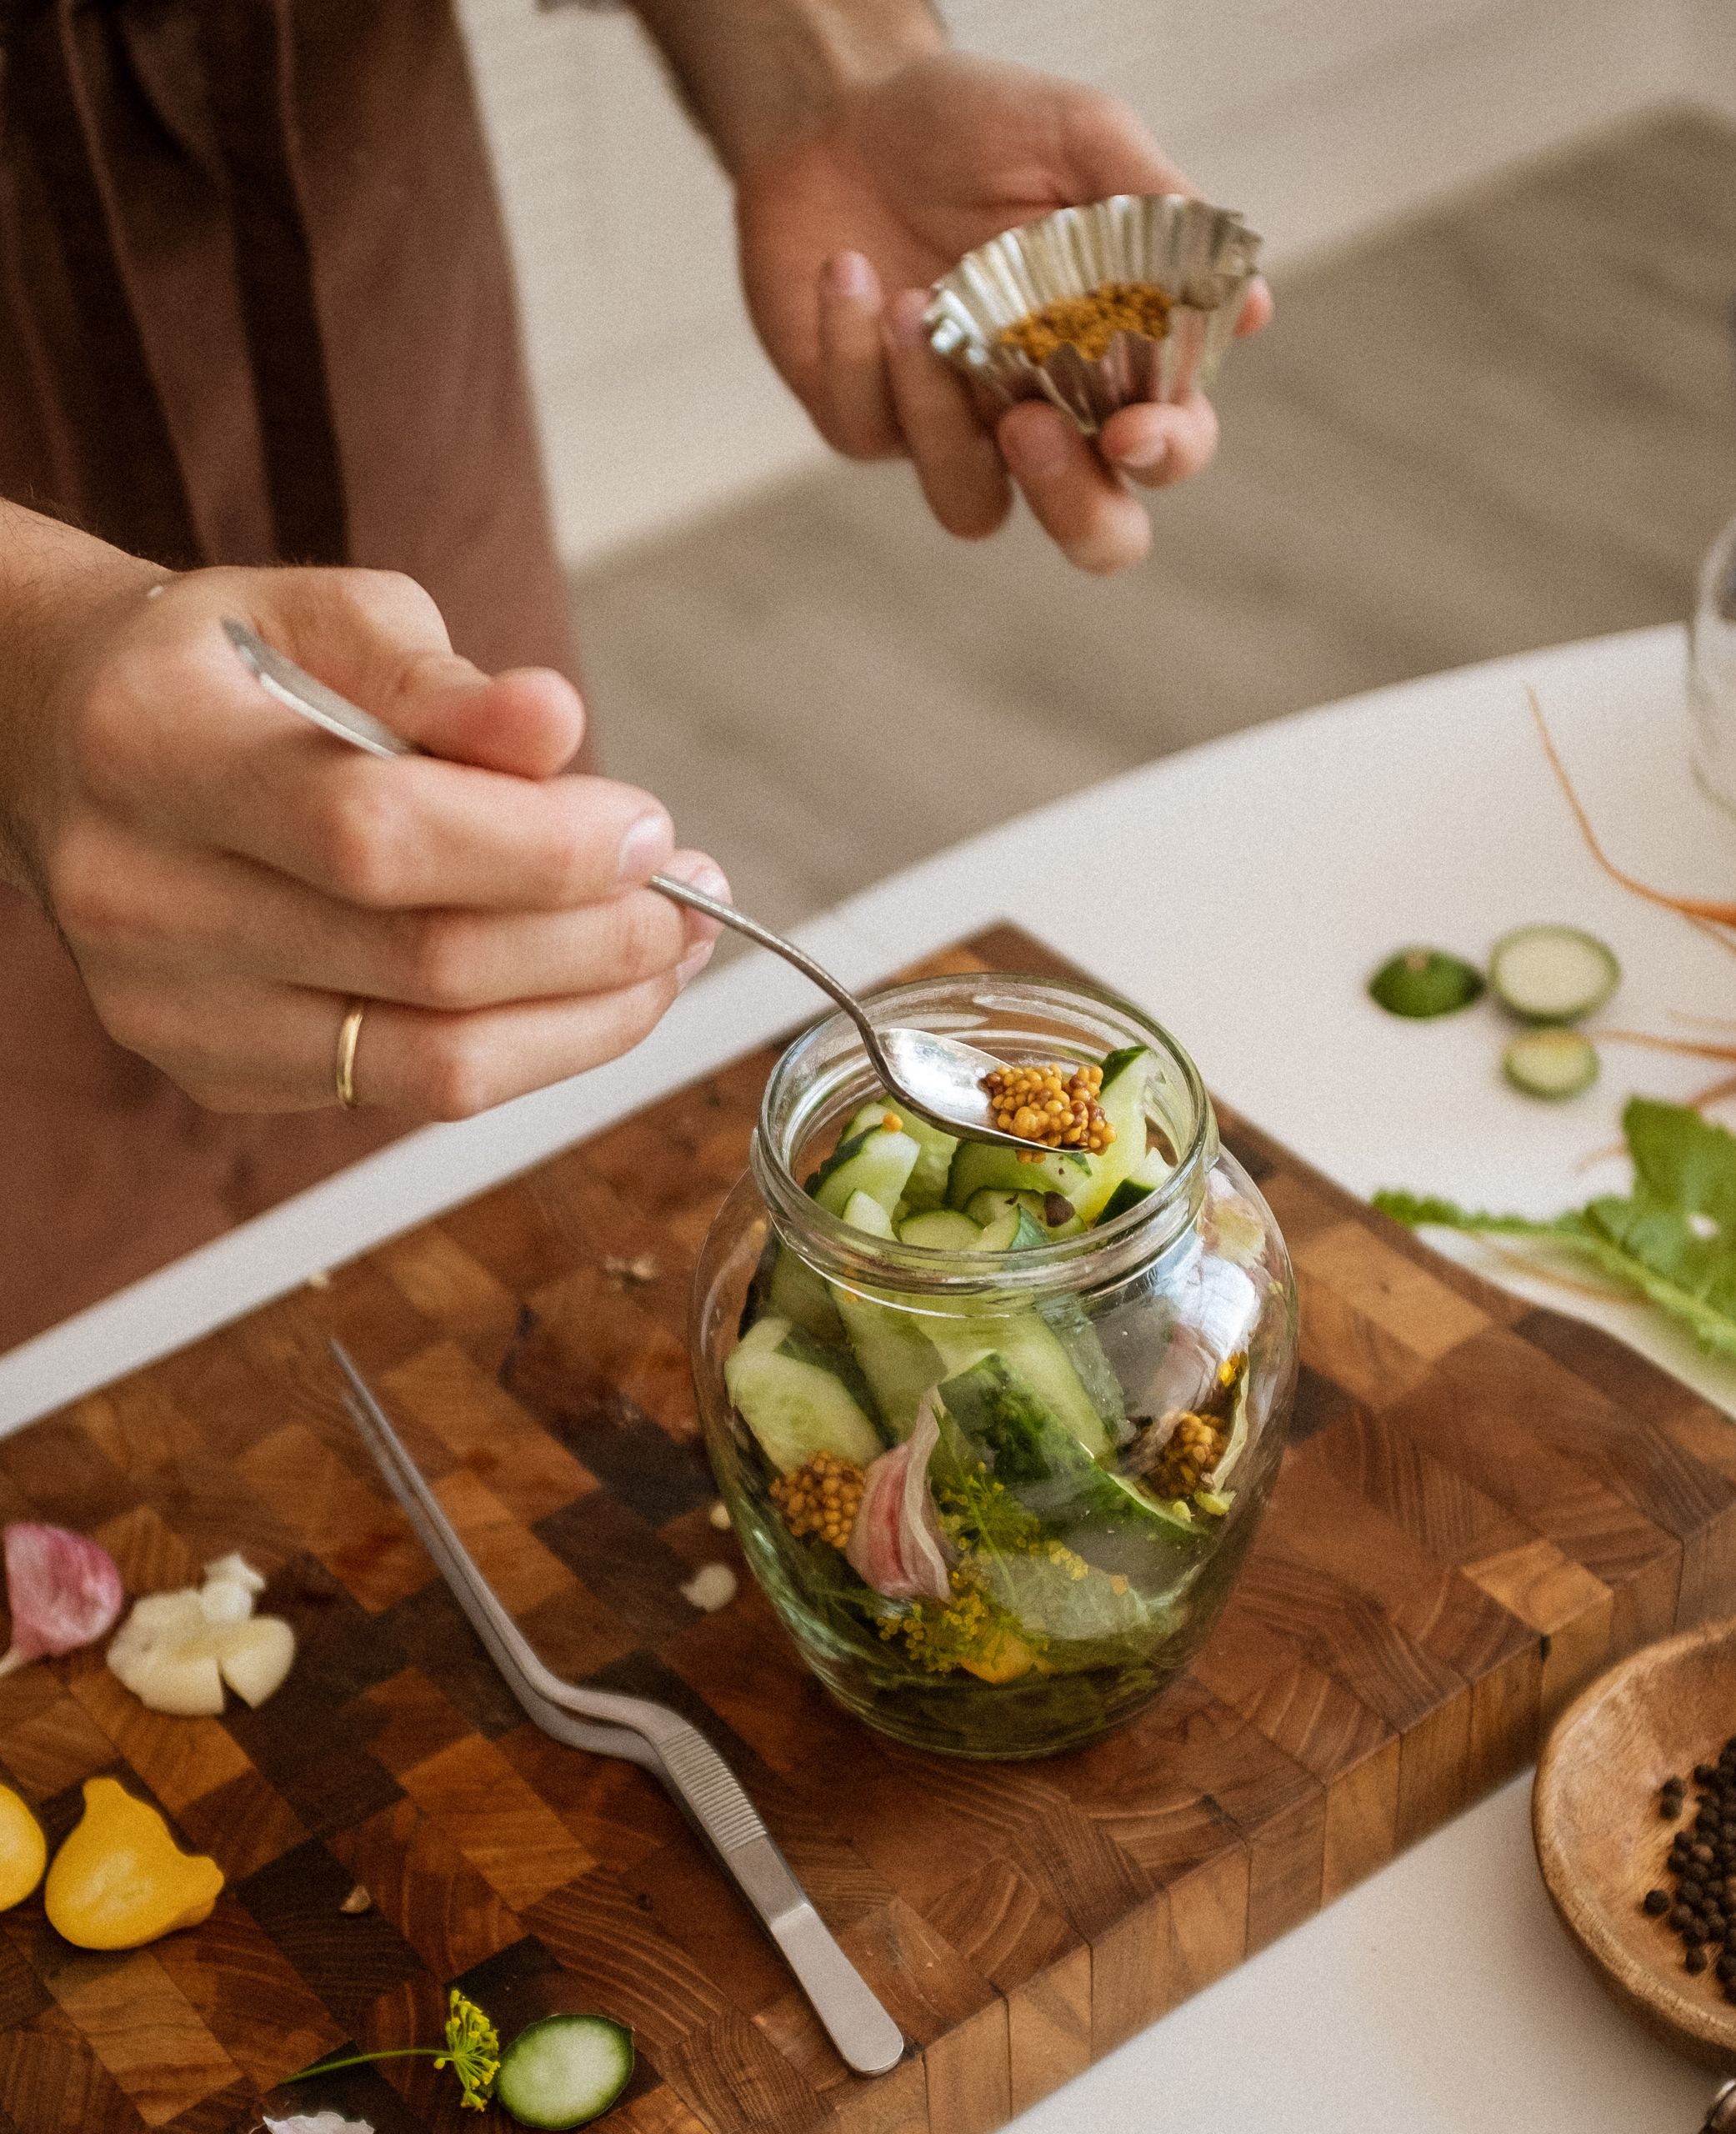
4 Easy Fermented Food Recipes for Beginners
Overview
- Fermentation harnesses salt and an oxygen-free environment to allow good bacteria to transform veggie sugars into lactic acid, which preserves food and enhances flavor and nutrition. Begin with easy classics, such as sauerkraut, kimchi, and fermented carrots, to gain confidence.
- Safety is a matter of accuracy and sanitation. Use wide-mouth glass jars, appropriate weights to keep produce submerged, high-quality non-iodized salt, and chlorine-free water to create a sturdy, mold-resistant environment.
- Lacto-fermentation differs from vinegar pickling in that it relies on wild bacteria and salt to develop rich flavors and probiotics. Opt for dry salting when fermenting juicy vegetables such as cabbage, and for brining firmer ones such as carrots and cucumbers.
- Control factors such as salt concentration, temperature, and submersion to prevent and troubleshoot problems like mold, off odors, cloudy brine, and slow fermentation. Just keep a plain date, ingredients, and conditions log to finesse results over time.
- Trust your senses to determine the progress and doneness. Check for bubbling and bright color, sniff for a pleasant tang, and taste for just the right saltiness and crunch before transferring jars to cold storage to slow activity.
- Incorporate ferments into daily meals for gut health, enhanced nutrition, and some zingy, tangy flavor notes. Enjoy on rice bowls, salads, sandwiches, and snacks. Always use a clean spoon to avoid contamination!
Fermenting foods for beginners requires salt, time, and microbes to transform raw foods into safe, tangy staples.
New makers begin by lacto-fermenting cabbage, carrots, or cucumbers in a 2% salt brine, maintained at 18 to 22 degrees Celsius for 3 to 7 days.
Clean jars, submerged produce, and no surface mold are key checks. For longer shelf life, bright flavor, and live cultures, the guide enumerates equipment, formulas, instructions, and troubleshooting.


Last update on 2026-10-01 / Affiliate links / Images from Amazon Product Advertising API
Understanding Fermentation

Fermentation is an age-old, natural preservation technique involving salt and an anaerobic environment. Numerous cultures molded it into staples—sauerkraut in Central Europe, kimchi in Korea, curtido in Central America, and achar in some regions of South Asia—all utilizing local spices and produce.
Vegetables ferment when lactic acid bacteria convert natural sugars into lactic acid, turning fresh, crunchy produce into deliciously tangy, shelf-stable foods. This enhances flavor, shelf life, and nutrients without canning or freezing, and a mild smell-funk at the beginning is normal.
The Science
Fermentation is an anaerobic process where oxygen is limited. During this process, lactic-acid bacteria (LAB), particularly Lactobacillus, convert vegetable sugars into lactic acid. This acid lowers the pH, creating a sour and safe environment for preserving fermented vegetables.
The fermentation process not only enhances flavors but also promotes the growth of beneficial bacteria that contribute to gut health.
Low pH and salt are known to limit unwanted microbes and mold. Lactobacillus effectively outcompetes and eradicates other microorganisms already present in the jar, further enhancing the preservation of the fermented food. Initial changes in color or texture, such as a cucumber slice becoming slightly pale or translucent after a day or two, indicate that the fermentation is progressing well.
As sugars acidify, probiotics multiply, and frequent consumption of these cultured foods could promote digestive health and improve the digestion of carbohydrates and fiber.
To ensure safe ferments, it is crucial to use clean equipment and maintain proper salinity. Rinsing produce and sanitizing jars in boiling water for at least 12 minutes is recommended for long-term storage, especially if they will not be refrigerated.
Non-iodized fine salt at the right ratios is important for successful fermentation. A typical brine consists of three tablespoons of salt to one quart (roughly 950 milliliters) of water.
Additionally, keeping vegetables submerged in liquid is vital for maintaining an anaerobic environment, preventing spoilage, and ensuring the success of your fermentation recipes.
By following these tips and techniques, you can enjoy a variety of fermented veggies, enhancing your meals with new flavors while reaping the health benefits of these delicious foods.
The Benefits
Fermented foods can assist digestion and help nutrients be absorbed.
They can even bolster gut-associated immune function.
- More diverse gut flora from live cultures
- Better nutrient absorption, including some minerals
- Possible relief of gas and bloating for some people
- Increased vitamin bioavailability, like certain B vitamins
- Potential support for immune signaling in the gut
Fermentation lifts flavor beyond health, too. A cabbage slaw gets tang and crunch. A spoonful of kimchi brings a literal heat-and-umami explosion to rice, eggs, or noodles. That sour-salty edge livens up ordinary meals.
Ferment-derived probiotics are associated with a reduced risk of certain digestive ailments and could improve cardiometabolic markers, though findings vary by individual and product.
The Difference
Vinegar pickles preserve by the addition of acid. Lacto-fermentation generates its own acid through salt and good bacteria. Both are sour, but only one has live LAB.
Dry salting involves combining salt directly with shredded or chopped vegetables to draw out brine from their juices. Brining refers to immersing whole or chopped pieces in a saltwater bath. A simple rule is to use 3 tablespoons of fine salt per 1 quart of water.
Press veggies firmly to minimize air pockets, then submerge them in brine with weights. Real fermentation uses bacteria, not just an acid bath. That living magic creates an insane depth of flavor and a glorious, firm, springy texture you just don’t get with quick-pickled vinegar.
Storage counts. If not refrigerated, keep jars below 55°F (13°C) for a year or longer to maintain shelf stability, and sterilize the containers first. Ferments can smell funky up front; that fades as acids increase.
Your Fermentation Toolkit

A compact, trusted arrangement maintains factors under control and develops secure, consistent behaviors.
The fermentation process is ancient, but straightforward equipment and fermentation kits make it easier to master and customize.
Essential Jars
Wide-mouth glass jars are the workhorse of your fermentation toolkit, especially for fermenting vegetables. Their broad mouth makes it easy to tamp down shredded cabbage or carrot sticks, push out air pockets, and rinse residue after a batch.
Transparent glass reveals brine, bubbles, and the typical Kahm yeast white haze, which is edible and routine when surface oxygen sneaks in during fermentation.
Pass on metal containers and regular old metal lids. Organic acids will corrode metal, impart off-flavors, and cause brine stain. If you have to cap with metal, use a food-safe liner and check frequently. Glass is better for maintaining the quality of your fermented food recipes.
Airtight lids or airlock lids establish a stabilized anaerobic environment. Airlocks vent CO2 yet block oxygen, which lessens surface growth and helps maintain crisp textures. They shine in long ferments like sauerkraut or kimchi, particularly near the 18 to 19.5 degrees Celsius (64 to 67 degrees Fahrenheit) sweet spot.
Keep a mix of sizes: 250 ml for test spices, 500 ml for quick cukes, and 1 L for core recipes. For kraut, a 1 L jar accommodates roughly 800 to 900 grams of produce at a 75 percent cabbage and 25 percent other vegetable ratio, making it ideal for various fermented vegetable kits.
Necessary Weights
Weights hold produce buried under brine, which shuts out mold and spoiling microbes. Submersion is non-negotiable for crisp pickles and clean acidity.
Glass or ceramic weights sized for mason jars work best and are inert. They sit well and do not leach.
No weights? A small, scrubbed stone or a sealed food-safe bag of 2% salt brine does the trick. Brine, not water, so a leak won’t dilute your jar.
Wash weights with hot water prior to use. No soap scent carryover; it seeps into those sensitive ferments.
Quality Salt
Unrefined sea salt, Himalayan pink salt, or additive-free kosher salt support a balanced Lactobacillus population. Salt selection influences crispness and water extraction from the cells.
No iodized salt. Iodine tends to inhibit good bacteria and mess with timing. Salt is key. Too little beckons mush and hazard. Too much inhibits microbes.
Measure by percentage for consistency: 2% by weight for most veg (20 g salt per 1,000 g produce). Store salt in a dry place to prevent clumps and uneven dosing.
Pure Water
Utilize filtered or dechlorinated water. Chlorine and chloramine can stunt your cultures and mute flavor.
If uncertain, boil and cool, or let the water stand overnight to allow chlorine to off-gas. Chloramine filtration is a must. Reserve additional pure water to top up the brine, as carbon dioxide lifts the liquid and vegetables wick moisture.
For dairy ferments such as kefir, culture at room temperature for 8 to 48 hours, depending on flavor and tang. Fermenting at 64 to 67°F encourages even acid for vegetables and crisp, bright flavors.
With the fundamentals outlined below, anyone can begin at home.

Last update on 2026-10-01 / Affiliate links / Images from Amazon Product Advertising API
How to Start Fermenting Foods
An easy, iterative process of fermenting vegetables minimizes danger and yields consistent taste. Collect jars (1 L glass), lids or airlocks, weights, cutting knives, a food scale, additive-free salt, and filtered water.
Then adhere to a strict fermentation process and maintain records for each batch.
- Sanitize and set up: Wash jars, tools, and your hands with hot, soapy water. Rinse thoroughly. Set up bowls, towels, and your scale before you handle the produce.
- Weigh and salt: Use 2 to 5 percent salt by weight of vegetables or total brine. Lower salt (around 2 percent) results in a brighter, speedier ferment. Higher salt (4 to 5 percent) slows activity and firms texture. Note grams utilized.
- Pack for anaerobic safety: Keep all solids under brine. Use weights. A headspace of 2 to 3 centimeters aids gas release.
- Control temperature: Room temperature (18–22°C) works well. Warmer rooms accelerate activity and cooler rooms decelerate it.
- Vent gases: Expect bubbles. Keep lids slightly loose or burp daily if there is no airlock.
- Evaluate at two weeks. A minimum of two weeks at room temperature is recommended before the first full taste.
- Store cold: Move finished jars to 0-4 degrees Celsius to slow fermentation.
- Journal: Note produce, cut size, salt percentage, temperature, start date, and flavor checks.
1. Choose Produce
Choose crisp, fresh vegetables. Soft, old produce ferments unevenly and can get mushy. Rinse with cool water. Cut away bruises and bad bits. Pat dry.
Experiment with cabbage for your sauerkraut, cucumbers for pickles, carrots as sticks or coins, and peppers for spice and fragrance.
Organic is nice to eliminate pesticide residues, but not essential. Variety is important. Napa cabbage, daikon, green beans, beets, and cauliflower all behave themselves.
2. Prepare Vegetables
Slice evenly sized pieces so that the microbes work at a steady pace and the texture remains uniform. Thin shreds ferment more quickly than chunks. Use a sharp knife or mandoline. Put a cut glove on if you have one.
For a dry-salted kraut, weigh cabbage and add 2% salt. For 600 grams of cabbage, use 12 grams of salt. Then massage until juices pool. For carrot sticks, pack raw sticks and cover with brine. Pound or massage to help release juice and pack more densely.
3. Create Brine
Dissolve non-iodized salt in filtered water. Consult your brine percentage table, as 2 to 5 percent is sufficient for most vegetables. Salt in a 1 L jar can range from 20 to 50 grams, depending on the target and the produce.
Add brine to cover. Press out air pockets along the sides.
4. Submerge and Seal
Employ glass or ceramic weights to push all solids beneath brine while fermenting vegetables. Wipe rims, then fit lids or airlocks. Label with contents and date for your fermentation guide. Store at room temperature, away from direct sun.
5. Wait and Watch
Check every day for bubbles, cloudiness, and a tangy aroma during fermentation. Top up with matching brine if any exposure shows. Skim off any white surface yeast and start tasting after day 7 for your fermented vegetables.
6. Store and Enjoy
Refrigerate jars of fermented vegetables to maximize shelf life and preserve texture. Use clean tongs every time. Toss into bowls, wraps, eggs, rice, and salads for new flavors. Pass along notes and tips to educate others.

- WHAT’S INCLUDED: With this purchase, you’ll receive a 2 gallon beer fermenter made from food grade HDPE. This fermentation bucket is 100% BPA free, safe for beer fermentation. Comes complete with drilled lid grommet for an airlock. Very popular with brewers to be used as a bottling bucket as well. FastRack fermenting buckets are very easy to clean and sanitize.
- DURABLE FOOD-GRADE PLASTIC: This sturdy fermenting bucket is the same reliable option included in many of our kits. Made from food-grade plastic, it’s a cost-effective solution for brewing beer, wine, mead, cider, or other fermented beverages. Our fermentation bucket is especially well-suited for high-krausen beers, thanks to the ample headspace it provides during primary fermentation.
- LIGHTWEIGHT & EASY TO HANDLE: Lightweight and easy to carry, the FastRack Plastic fermenting bucket is much easier to get rid of sediment from the bottom. With our simple cover, just open the lid to pull your hydrometer samples or add dry hops and flavorings into the primary fermenting bucket. No need to struggle with the narrow neck of a glass carboy.
- OUR COMMITMENT TO YOU: At FastRack, we stand behind the quality of our products and the trust our customers place in us. Your experience matters. If your order arrives damaged or incomplete, reach out—we’ll make it right.

Last update on 2026-10-01 / Affiliate links / Images from Amazon Product Advertising API
Navigating Common Issues
Fermentation depends on clean vessels, the correct salt percentage, and consistent temperature, while tips for fermenting vegetables can help you troubleshoot the fermentation process.
- Sterilize jars in boiling water for 12 minutes before using.
- Store jars at or below 13 °C (55°F). Otherwise, increase salinity.
- Go with 3 tablespoons of fine salt per 950 milliliters of water for starters.
- Weigh produce down; keep all solids under brine.
- Vent airlocks; burp jars with lids to release pressure.
- Wipe rims, lids, and weights; avoid cross‑contamination.
- Monitor time, temperature, and salt on a log or chart.
- Keep finished ferments cool. Temperatures below 13°C (55°F) may keep them for a year.
- Shield from fruit flies; use tight‑weave cloth or airlocks.
Unwanted Mold
Cut out mold as soon as you notice it, along with a generous excess of the adjacent food and brine. If it’s all over, throw the batch. Mold loves exposed surfaces, so weigh down every leaf and spice, and keep the rim clean.
High heat accelerates mold growth, so seek a cool place below 13°C (55°F) or increase the salt by 0.5 to 1% by weight when your kitchen is warm.
Wash jars, weights, and utensils in hot, soapy water, then sterilize them in boiling water for 12 minutes. Rinse thoroughly and air-dry. If mold keeps showing up, review hands, cutting boards, and any cloth covers.
For summer kombucha, guard your SCOBY from fruit flies. They will lay eggs that seed contamination.
Unusual Smells
Most ferments will smell sharp, sulfuric, or tangy during their first week. That may be par for the course with cabbage, kimchi, and brined chiles. Putrid, rotten, fecal, or paint-like notes indicate spoilage, so toss them.
Vent airlocks or burp screw-top jars once per day at the beginning to purge CO2 and minimize odor spikes. If navigating common issues, keep the area well-ventilated. A little fan or open window shifts off-gassing out of living areas.
Brine Problems
If brine tastes too salty, layer with unsalted, boiled, and cooled water in increments. If too bland, top off with about 3 tablespoons of fine salt for 950 milliliters of water!
Cloudy brine is usually a sign that the lactic acid bacteria are hard at work. If it stinks fresh and sour, it’s okay. Separation or thin film may be accepted. Softer brine: gently swirl the jar or stir with a sterilized spoon.
Brine troubleshooting quick chart:
- Floaters: add heavier weight, remove trapped gas.
- Surface yeast (kahm): skim daily; increase salt slightly.
- Low brine: add 2% saline to cover; no wicking lids.
Slow Ferments
Gently warm the jar by transferring it to a steady 18 to 21 degrees Celsius location to encourage lactic action. Too much salt stalls microbes.
Confirm your baseline: three tablespoons fine salt per 950 milliliters water, or two to two and a half percent by weight for most vegetables.
Inoculate with 1 to 2 tablespoons of active brine from a previous batch, or a dash of whey. Temperature swings bog you down and can throw off flavor. If you can’t keep it cool, add more salt to preserve against spoilage.
Note that fermented vegetables are historically safe, with no recorded cases of food poisoning. Cool storage increases longevity. Below 13°C (55°F), many ferments last for months to a year.
Simple First Ferments
Small batches keep risk low and pace clean. Begin with sauerkraut, kimchi, and fermented carrots — they require minimal equipment and impart fundamental skills you’ll apply to kombucha or water kefir down the line. Weigh produce and salt for precision: 2 to 5 percent salt by weight is a solid rule.
Keep all anaerobic under brine, watch for bubbles, and burp jars to vent gas. Room temperature is great; warmer rooms accelerate the transformation, but budget at least 2 weeks before steady consumption. A single spoonful of fermented veg can outperform an entire bottle of probiotic pills.
Classic Sauerkraut
Shred 1 kg of green or white cabbage finely, discarding the outer limp leaves. Sprinkle with 20 to 30 g fine sea salt (2 to 3 percent), stir and squeeze until brine forms. Optional: 1 tsp caraway, a grated apple for mild sweetness, or 1 small grated carrot for color.
Taste the cabbage. It should be nicely salty, like a light broth. Stuff the cabbage firmly into a 1 L jar, pressing it to submerge the solids in brine. Place a weight over top to keep it submerged and fit a loose lid or airlock.
Maintain at 18 to 22 degrees Celsius. Look for bubbles from days 2 to 4. Skim surface yeast. Taste starts at 7 days; most batches top out between 1 and 4 weeks, depending on crunch and sourness. Keep it in the fridge to slow fermentation. Enjoy with eggs, grilled vegetables, toasties, or grain bowls.
Simple Kimchi
Chop 1 medium napa cabbage (about 1.2 kg). Salt at 2 to 2.5 percent of total weight. Incorporate 4 garlic cloves, 2 tablespoons of grated ginger, 4 scallions, and 1 to 4 tablespoons of Korean red pepper flakes (gochugaru).
Add 1 small grated carrot or daikon if you prefer more bite. Massage until softened and briny, then pack into a 1.5 L jar, expelling air pockets. Put a weight on top and a loose lid.
Ferment for 2 to 5 days at room temperature. Warmer rooms will finish faster. Taste every day and burp to release CO2. When the tang fits, chill. Sprinkle on rice bowls, ramen, omelets, or avocado toast.
Fermented Carrots
Cut 500 g carrots into sticks or rounds. Add 2 crushed garlic cloves, dill stems, and 5 to 8 peppercorns to a 1 L jar. Combine a 2.5 percent brine with 25 g salt per 1 L water.
Pour over to cover and weigh down. Seal loosely, leave at 18-22°C for 5-10 days. Watch for bubbles and a little cloudiness. Ensure all solids remain submerged, adding brine if necessary.
Snack right from the jar, add as a salad topper or dip with hummus.
Garlic Honey
Peel fresh cloves, add to a clean jar halfway. Cover completely with raw honey. Stir or shake daily to mix and vent.
Ferment for 1 to 2 weeks at room temperature until you observe gentle bubbling and thinning of the honey. Flavor continues to deepen for months in the fridge. Lather up roast vegetables, whip into dressings, slather on toast, or use in light marinades.
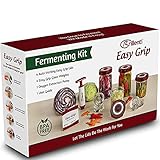
- Hassle-Free Waterless Fermentation Airlock Lids Are So Easy To Use: Our no burp value automatically releases gases and blocks oxygen so no burping of jars is needed; our fermenter lid is low profile and easily fits into cupboards
- Durable Food-Grade BPA-free Plastic Fermentation Lid: Unlike other 4 tab lids, Easy Grip fermentation lids are safely made of food-grade, hard, durable plastic with a thick leak proof gasket
- The Original four tab Fermentation Lids for Wide Mouth Mason Jars: Comfortable Easy Grip Tabs allow for easy opening when your fermented vegetables are done; the easiest, most comfortable to use wide mouth mason jar fermenter lid
- Date Reminder And Fermenting Weights: Our ferment lids remember the date and the Easy Grip weights keep vegetables submerged below brine for perfect ferments every time; our fermenting lids and weights make great starter lacto fermentation kits for sauerkraut, kimchi, cabbage or any fermented food
- Low profile waterless airlock fermentation lids: No Bulky water filled airlock so the jars fit easily into cupboards; fill a widemouth mason jar with vegetables and brine and screw on the lid; it’s that easy
Last update on 2026-10-01 / Affiliate links / Images from Amazon Product Advertising API
Trusting Your Senses
Fermentation feels like a low-tech DIY project, using biology you can monitor with your eyes, nose, and tongue.
Many novices cringe at the thought of fermenting vegetables left on the counter for a week or two. That fear is natural, but your senses and a few straightforward checks keep it manageable and predictable, guiding you when something seems off during fermentation.
What to See
Good jars of fermented vegetables have tiny bubbles stuck in the spaces between the vegetables or bubbling to the surface. That CO2 is produced by alive and well lactic acid bacteria. Anticipate constant fizz from days 2 to 5 at room temperature (18–22ºC). Cooler rooms can extend the fermentation process.
Color should stay bright: cabbage greens, beet reds, carrot oranges. Crystal clear brine is the goal when you ferment vegetables. A light haze made of harmless lactic sediment is fine if it’s stirred up, but lingering murky gray brine can be a sign of spoilage or overly warm storage. If leaves or spices blacken quickly, verify salt content, which should be about 2% by weight, and temperature.
Surface growth is the essential visual indicator when checking your fermentation recipes. Mold creates fuzzy, elevated colonies in white, green, blue, or black. Trust your senses and toss it if you see fuzz. A thin, flat, creamy-white layer (kahm yeast) is harmless but can taste bitter, so skim it, press the produce back down below the brine, and carry on. If you have doubts, dump it.
Texture informs you when to relocate a jar to cold storage. Trust your senses for doneness; cabbage begins crisp, then becomes snappy-tender. If vegetables go limp or mushy early, your brine may be too warm or salt too low. For pickles, shoot for a crunchy center and just a bit of softness around the edge.
What to Smell
A good ferment smells clean, sour, and a little yeasty, like a mild vinegar or green apple. Pretty soon, just a couple of days, most jars develop a nice tang as the acids build.
Trust your instincts. Rotten, rancid, sulfuric, or solvent-like notes indicate that you should stop and chuck it in the bin. Do not push through – your body tends to vomit what it is rejecting, and that wisdom applies here.
A smell changes. Top notes can be ‘grassy.’ Mid-ferment smells sharper. Completed jars age in the refrigerator. Track scent changes, and soon you’ll understand your kitchen’s tempo.
Differentiate normal funk from trouble: cabbage-sour is fine, but putrid or cheesy rot is not. If there’s still doubt after a quick sniff and peek, don’t hang on to it.
What to Taste
Taste the small samples with a clean spoon after bubbling subsides. Trust your senses: tang, salt, and crunch. Every day alters acid and texture, so tasting leads timing.
Stop the room-temp phase when the flavor aligns with your aim. Brighter is for salads and deeper sour is for stews. Then refrigerate to stall fermentation.
Be aware of bitterness, metallic or slippery sensations. These can indicate yeast problems, enzyme decomposition, or excessive heat. If taste and feel both seem off, toss it.
Great ferments are layered: crisp bite, balanced salt, lively acid. That ‘zing’ lets you know microbes did their work, and your senses verified it.
Our Conclusion
Begin modestly and maintain records. A 500 ml jar, spotless tools, and fresh veg take you miles. Use 2% salt by weight. Submerge your food. Burp jars when necessary. Inspect daily. Monitor smell, flavor, and brine depth.
To gain experience, run two jars simultaneously. Go with cabbage or carrots.
Switch spice or cut size. Taste for the right balance of crunch and tang. Compare crunch and tang at 5, 7, and 10 days. Know your room temperature in °C. Warmer rooms accelerate acid build.
To be safe, rely on your eyes, nose, and tongue. Vibrant sour aroma, satisfying crunch, sparkling brine. Dump if fuzzy, pink, or rotten.

- Suitable for Universal Wide Mouth Gallon/Mason Jars that Over 2.75″ / 70 mm: 2.75″ * 2.75″ * 1.38″. For various home fermenting tasks, for heavy home fermentations, pickling, kimchi, fermenting, canning, sauerkraut crock, mason, gallon jars, containers, that with wide-mouth over 2.75 inches or 70 mm
- Keeping Ferments Materials Submerged: Weitght 165g / 6oz. These glass fermenting weights are heavy enough for keeping vegetables submerged beneath the brine, heavy to keep even persistent veggies slices submerged, which is crucial for successful fermentation and food preservation
- Practical & Beauty: Non-slip grip handle to facilitate easier removal and functional diamond handle, flat bottom and convex wavy grain dot design. Each fermented weight has a raised handle for easy grip and a unique connvex wavy dot texture design for simple placement and removal
- Safe Material & Easy Usage: These glass weights are made of food-safe, lead-free, corrosion-resistant, and non-porous glass, for maintaining the cleanliness required in fermentation processes and resistant to cracking or chipping, which prevents absorbing food odors, flavors, or colors. Easy to use when preparing the fermentation set-up and cleaning after use
- Fermenting Tools Perfect for Home Pickling: These glass sauer stone weights complement a wide range of fermentology products, suitable for beginners and experienced fermenters alike, enjoy making your own fermented foods at home!
Last update on 2026-10-01 / Affiliate links / Images from Amazon Product Advertising API
Frequently Asked Questions
What is fermentation and why does it matter?
Fermentation is when beneficial bacteria transform sugars into acids or alcohol, allowing you to ferment vegetables like cabbage and cucumbers. This traditional technique can keep food fresh longer, enhance flavors, and promote gut health when you use a clean vessel and proper salt proportions in your fermentation recipes.
What tools do I need to start fermenting at home?
To begin the fermentation process, you’ll require clean jars, non-reactive weights, a lid or airlock, a scale, and non-iodized salt. A cutting board, knife, and clean workspace assist. Optional items include pH strips and a fermentation kit for fermenting vegetables.
How do I know if my ferment is safe to eat?
Trust your senses when fermenting vegetables. The smell should be delightfully sour, not putrid. Always ensure brine covers solids. If you see mold on the surface, remove it or toss it if unsure, as a slimy smell or pink or black mold indicates it’s time to throw it out.
What are the best beginner-friendly ferments?
Begin with fermenting vegetables like sauerkraut, brined cucumbers, carrots, or kimchi. For drinks, try water kefir or kombucha made with a trusted starter culture. They’re forgiving, fast-fermenting, and use basic fermentation recipes for brine coverage, salt use, and timing.
What salt ratio should I use for vegetables?
To ensure the best results when fermenting vegetables, use 2% salt by weight of the vegetables. Weigh the vegetables and multiply by 200 to determine the amount of salt. For brines, a 2-3% salt concentration in water is ideal, as the salt concentration ensures consistency and provides a safe haven for beneficial bacteria during fermentation.
How long should I ferment and at what temperature?
For example, most fermentation recipes for vegetables require 5 to 21 days at 18 to 22 degrees Celsius. Warmer rooms ferment more quickly, while cooler rooms ferment more slowly. Taste every couple of days; when the flavor and tang are spot-on, transfer to a clean vessel in the refrigerator to slow fermentation and preserve quality.
What if I see bubbles, cloudiness, or a white film?
Bubbles and cloudiness are common indicators of fermentation in vegetables. A thin white film (kahm yeast) is typical and fairly harmless; simply skim it off. However, strong, nasty smells or fuzzy molds are red flags, indicating harmful bacteria.


